Legacy Payments Widget
We provide a payment widget to help you get started with our payments API.
NOT for production use!
This widget is not for production use. It's an aid to help you get a basic prototype working to get you started.
The widget can be embedded in a page you host via a script tag:
<script
  data-clientid="your client id from our admin portal"
  data-redirecturi="the redirect uri that you have configured for the above client"
  data-posturi="/payment-result" // see details below
  data-payeeid="the payee id" // see details below
  data-payeename="Test Person"
  data-amount="1000" // in pence
  data-starttext="Text that will display at the start of the flow"
  data-choosertext="Text that displays on the bank chooser page"
  data-authuri="/payments/auth/" // see details below
  data-finishuri="/finish" // see details below
  data-type="api"
  data-identityuri="https://identity.moneyhub.co.uk"
  src="https://bank-chooser.moneyhub.co.uk/payment-widget.js"></script>
To enable the widget you need to provide 3 urls and 2 api endpoints:
URLS
- Redirect uri: this must be one of the redirect uris configured for your API client, it must have the the above script tag.
- Post uri: The url where the payment will be actually made, the OAuath code gets exchanged into a token
- Finish uri: The url that the user will go to when they click "finish" at the end of the flow
API Endpoints:
- Auth uri: This uri will receive a JSON post from the widget containing
{
  "bankId": "the chosen bank id"
	"nonce": "a random nonce value"
	"payeeId": "the payee id"
	"state": "a random state value"
}
It must return a JSON object with a single param:
{
  "uri": "the auth uri for the payment"
}
If you are using our Node.JS client you can generate that auth uri using this method:
const uri = await moneyhubPaymentsInstance.getPaymentAuthorizeUrl({
    bankId: req.body.bankId,
    payeeId: req.body.paymentId,
    amount: 100, // the amount in pence
    payerRef: "Reference",
    state: req.body.state,
    nonce: req.body.nonce,
  })
We suggest that you use a dynamic auth url so that you can retrieve the valid amount / reference for the payment.
- Post uri: This uri will receive the auth params received in the browser after the user has authorised the payment. It will receive a JSON POST request with these values:
{
  "state": "the state value",
  "nonce": "the nonce value",
  "code": "the auth code",
  "id_token": "the id token"
}
With these values you can complete the payment. If you are using our Node.JS client you can use the following method:
const result = await moneyhubPaymentsInstance.exchangeCodeForTokens({
  paramsFromCallback: {
    state: req.body.state,
    code: req.body.code,
    id_token: req.body.id_token,
  },
  localParams: {
    response_type: "code id_token",
    state: req.body.state,
    nonce: req.body.nonce,
  },
})
const payment = await moneyhubPaymentsInstance.getPaymentFromIDToken({idToken: result.id_token})
Response type
When using response_type "code id_token", the redirect URL should be https, rather than http, and grant types configured for the API Client should include "implicit".
Alternatively, during development, use the "code" response type, without the "implicit" grant type, and you can use http redirect URLs.
A successful response should be returned for the widget to show a success screen.
Widget
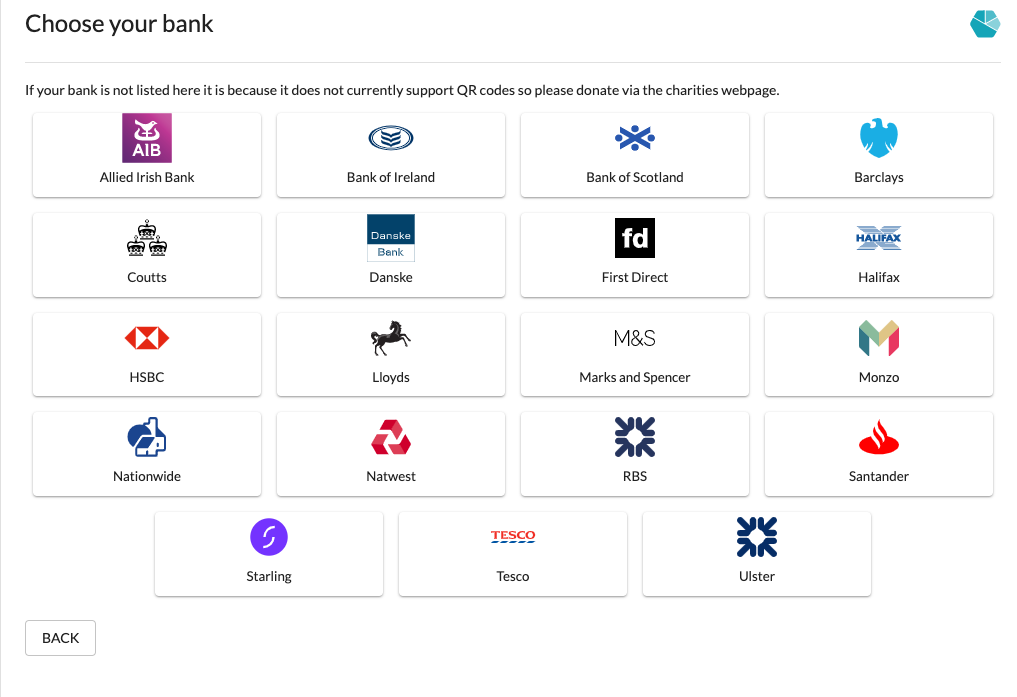
This is an example of how the widget is rendered

Use Cases
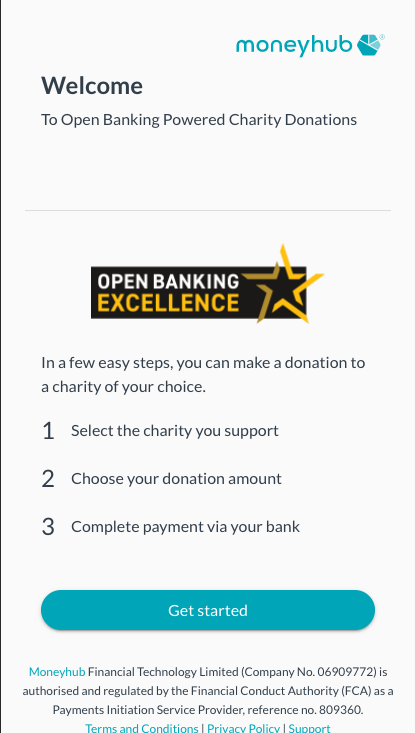
The payments widget was used to build the following Charity donations flow
https://payments.moneyhub.co.uk/donate

Updated about 1 year ago
