Implementing self-hosted single journey widgets
Implementing self-hosted single-journey widgets: config and events.
Local developmentTo run the widget journey requests must be made from a valid web URI, this means to test the widget locally, you must be able host the page, containing the embedded code, with an externally addressable URL, a tool like ngrok or Vercel can support this. All requests from localhost, 127.0.0.1 and similar addresses will fail with
400 Bad request error, error="invalid_redirect_uri", in the console
Must be run in an externally accessible location within your infrastructureIf you choose to run the widget through your infrastructure, note that our code snippet will pull the latest version of the widget from Moneyhub servers at the start of each journey. The journey will navigate the user to and require a redirect from the bank's systems. This means it cannot be included in an offline or isolated service/ journey.
Configure Admin Portal
Widget Page
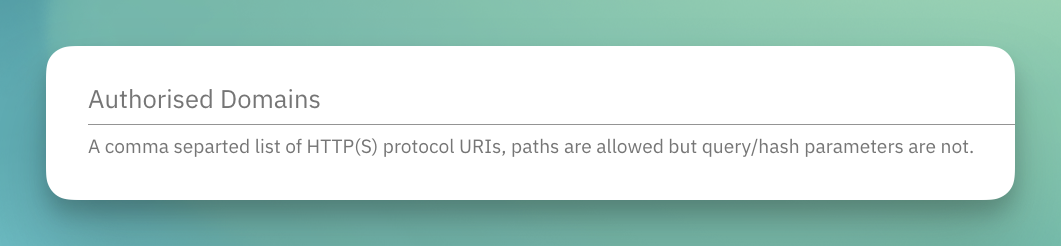
To host the widget on your stack, ensure your site is listed in the widget’s authorised domains. This is crucial for the widget to function correctly on your site and can be configured in the authorised domains section on the widget page. Configure this in the authorised domains section on the widget page.
API Client Page
If you are experiencing redirect issues, contact your Customer Success Manager to ensure the authorised domains have been propagated to the associated API Client.
Implement
After creating a widget in the Admin Portal, you can view and utilise its code snippet to embed the journey into your site. Please follow these steps to ensure successful integration:
-
View Code Snippet:
Once the widget is created, the Admin Portal will display an action to "View Code Snippet." Click this to access the snippet.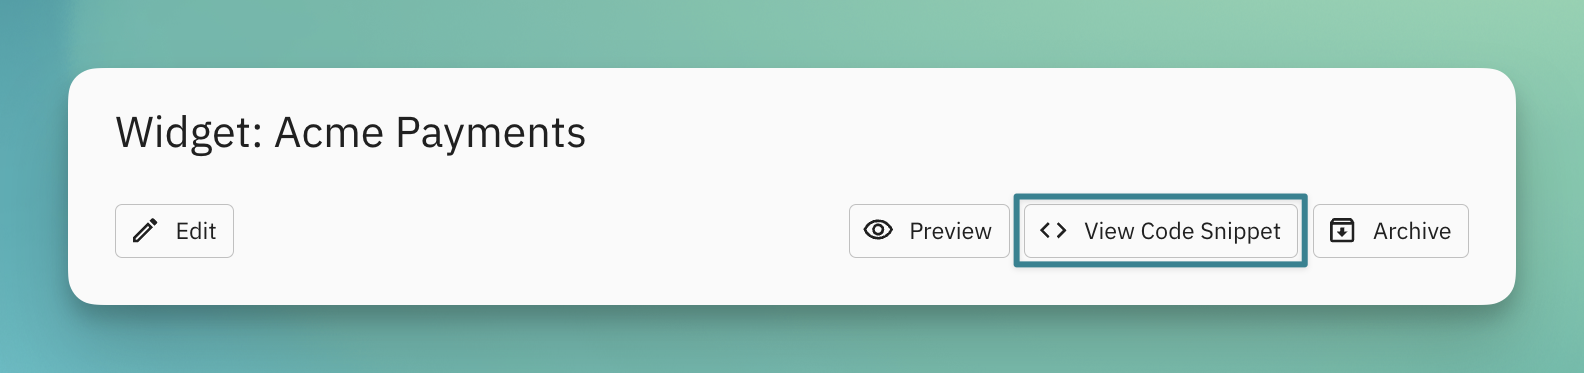
-
Embed the Code Snippet:
Include the provided snippet in the<body>of your HTML page. Here’s an example of how your code might look:<html> <head> <meta name="apple-mobile-web-app-capable" content="yes"> <meta http-equiv="Content-Type" content="text/html; charset=utf-8" /> <meta name="viewport" content="width=device-width, initial-scale=1, maximum-scale=1, user-scalable=no, minimal-ui"> </head> <body> <div id="root"></div> <script src="https://s3.eu-west-1.amazonaws.com/widgets.moneyhub.co.uk/widgets.bundle.js"></script> <script type="text/javascript"> window.moneyhub.init({ "elementId": "root", "type": "standard-financial-statement", "widgetId": "831b0bce-130e-478c-a064-d685bd8a3cfc", "params": { "externalUserId": "external-user-id", "email": "[email protected]", "name": "Sarah Green", "state": "random-unique-session-string" }, logger: { // Replace with however you wish to handle these events info: (page, data) => console.info(page, data), error: (page, data) => console.error(page, data), } }) </script> </body> </html>The example above illustrates a straightforward implementation where one of our widgets is initialised directly on page load. However, widgets can be rendered using any JavaScript framework, such as React or Angular.
Event Listeners
Currently supported widgets: Affordability, Single Payment Widget
If you wish to log events that occur within the widget for your own diagnostic or auditing purposes, you can pass in a logger object. This object should include functions named info and/or error, depending on the levels of events you want to capture.
When an event occurs, the widget will pass two arguments to these functions:
| Argument | Description |
|---|---|
| Page Name | The name of the widget page where the event occurred. |
| Data Object | A data object containing relevant information about the event. |
Example:
<html>
  <head>
    <meta name="apple-mobile-web-app-capable" content="yes">
    <meta http-equiv="Content-Type" content="text/html; charset=utf-8" />
    <meta name="viewport" content="width=device-width, initial-scale=1, maximum-scale=1, user-scalable=no, minimal-ui">
  </head>
  <body>
     <div id="root"></div>
     <script src="https://widgets.moneyhub.co.uk/widgets.bundle.js"></script>
     <script>window.moneyhub.init({
       "elementId":"root",
       "type":"affordability",
       "widgetId":"defccf60-648e-41f2-9e2b-648010589956",
       "params":{
         "externalUserId":"external-user-id",
         "email":"[email protected]",
         "name":"Custom name"
        },
        "logger": {
           // Replace with however you wish to handle these events
          "info": (page, data) => console.info(page, data),
          // Replace with however you wish to handle these events
          "error": (page, data) => console.error(page, data),
        }
      })
    </script>
  </body>
</html>
By implementing this, you can effectively capture and manage events within the widget, facilitating improved logging and troubleshooting.
Updated 5 months ago