Creating and Managing Widgets
Learn how to create, configure, preview, implement, and manage widgets within the Moneyhub Admin Portal. This guide provides detailed instructions for both new and existing users, covering everything from setting up common fields to embedding widgets on your website and capturing events for diagnostics.
Create
Widgets can be created via our Admin Portal. To create widgets, you must be granted permission by a member of the Moneyhub team.
Existing Users
If you can view the Widgets section (under API) in your navigation panel inside the Admin Portal, you already have the required permissions to create widgets. Start by adding a new widget.
New Users
Sign up to the Admin Portal to create a user account, and then reach out to your Moneyhub contact to grant you the necessary permissions to create widgets.
Once you have the appropriate permissions, navigate to API/Widgets and add a new widget.
Configure
Configuring a new widget involves setting up both common fields and widget-specific fields. This section covers the common fields shared across all widgets. For details on widget-specific configuration, please refer to the respective sections for each widget type.

General Configuration
The following fields are essential for all widgets:
| Name | Description | Requirement |
|---|---|---|
| Widget Type | The type of widget to be created. Options include Affordability, Single Payment, or Pay Link. | Required |
| Widget Name | Used to identify the widget in the Moneyhub Admin Portal only. | Required |
| Business | The API Business to which the logged-in user is linked (one or many). The API Business name is set by Moneyhub. You can create multiple widgets under your API business. | Required |
| Widget Status | Can be either Production or Sandbox. This dictates whether live banks or test banks are accessible during the flow. Note: the status cannot be changed after creation; a new widget must be created if changes are required. | Required |
Authorised Domains
Widgets are automatically accessible on the Moneyhub platform. If you prefer to host the widget on your own site, you need to specify the authorised domains. See more at Hosting and Implementing.
| Name | Description | Requirement |
|---|---|---|
| Authorised Domains | Specify a list of domains on which the widget can be hosted if self-hosting. | Optional |
Theme
To ensure a seamless visual transition between your site and the widget, you can specify theming options.
| Name | Description | Requirement |
|---|---|---|
| Primary Colour | Choose a primary colour. | Optional |
| Custom Font | Select any Google Font. | Optional |
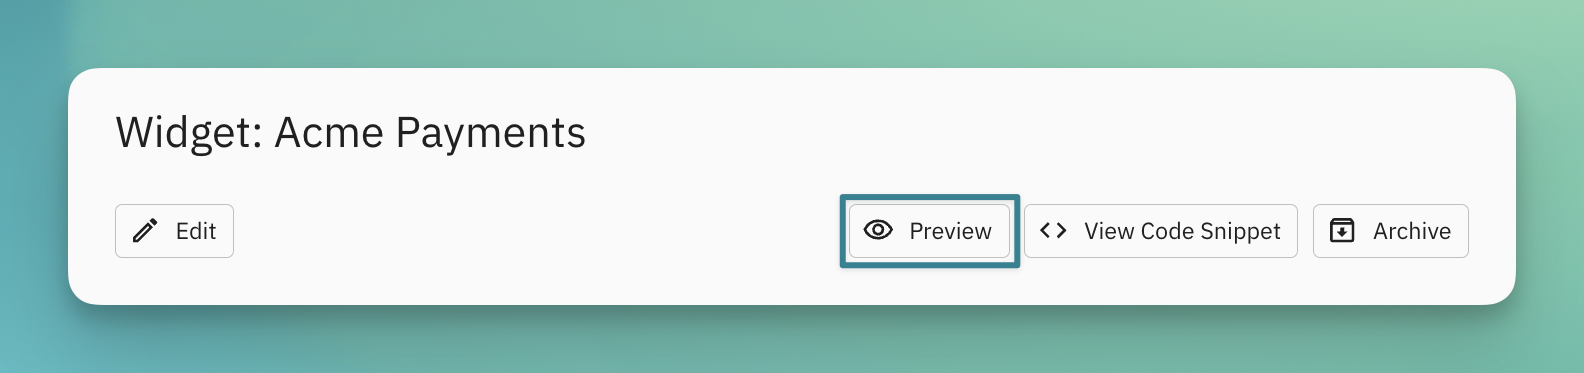
Preview
Once a widget has been created, you can preview it in Admin Portal:
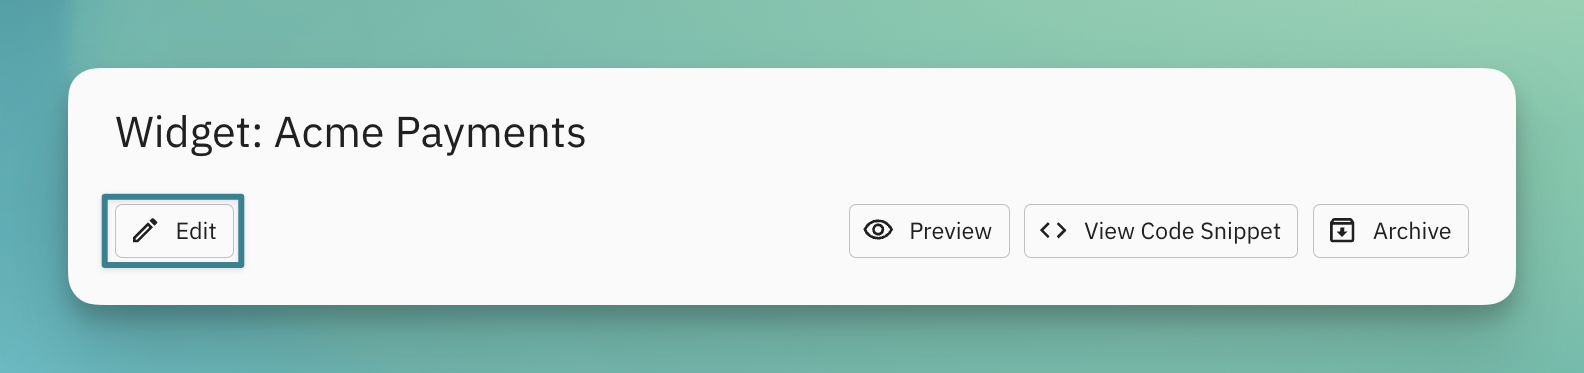
Edit
After a widget has been created, you can edit some of its fields by clicking the "Edit" button in the Admin Portal.
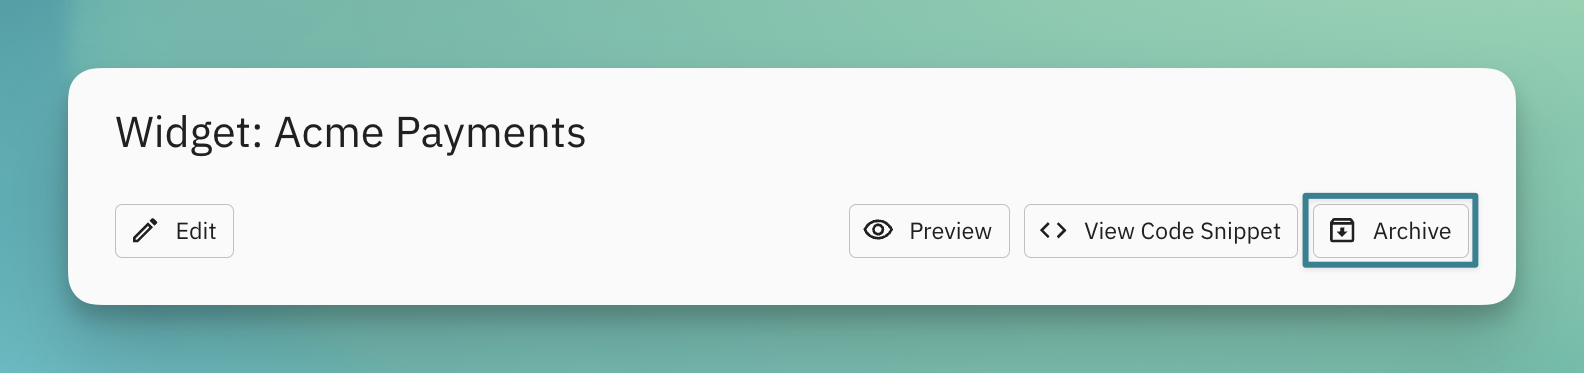
Archive
Redundant widgets can be archived when no longer required. Archiving a widget will remove it from the "Widgets" view and it will cease to function.
Updated 5 months ago